Top Background Tricks for Clean Product Pics (That Still Look Premium)
As a studio that photographs thousands of SKUs, we’ve learned that “clean” doesn’t mean “boring.” It means distraction-free, color-accurate, and consistent across every product page and pitch deck. If you’re new to product photography, use this guide as a playbook to create simple, repeatable setups that scale from a one-off shoot to a full catalog.
1) Pick the Right Background for the Job
Pure white (255/255/255)
- Best for e-commerce marketplaces and cutouts.
- Use seamless paper (not poster board) or a hard sweep (plastic/plexi).
- Aim for a background roughly +1 to +1.5 stops brighter than the subject—white but not glowing around the edges.
Neutral gray (18%–30%)
- Great for reflective items, dark products, and metals.
- Keeps edge detail and avoids white “halos.”
- Easy to color-grade into other tones later.
Muted color backdrops (pastel solids)
- Add brand flavor for lifestyle banners and social.
- Keep saturation low to prevent color cast on shiny surfaces.
Texture backgrounds (concrete, wood, linen)
- Use sparingly for “artisan” feel.
- Keep texture out of focus; product remains the hero.
- Watch for repeating patterns that look tiled.


2) Build a “Sweep” to Kill the Horizon Line
A sweep is a continuous curve behind and under the product.
- Seamless paper: Clamp high, let it roll down onto the tabletop.
- Acrylic or PVC sheet: Creates a smooth curve and wipes clean; clear acrylic also gives a subtle reflection.
- Tip: Keep the curve wide and gentle; tight bends create bands of tone and micro-wrinkles that you’ll fight in retouching.
3) Control Light Before You Add More
Most “messy” backgrounds are actually messy light.
Start with one key light (strobe or LED) and shape it:
- Diffuse: Softbox, shoot-through umbrella, or DIY with diffusion fabric. Bigger = softer edges.
- Flag: Use black foamcore or flags to block spill hitting the background.
- Fill: Add a white card (bounce) only as needed to open shadows.
- Edge: A small stripbox or bare head from behind can separate dark products from gray/white.
Target ratios:
- Background ~+1 stop vs subject for bright white.
- Background even with subject for gray.
- Avoid hotspots: meter center and corners of the sweep.


4) Separate Product From Background (Distance = Clean)
- Pull the product 2–4 feet off the backdrop.
- Put lights on the product, not the background.
- Use a separate background light if you need a pure white knockout (keep it flagged from the product to avoid flare).
5) Tame Reflections on Glossy, Glass, and Metal
- Use big soft sources. A large diffused panel creates clean, rectangular highlights that look intentional.
- Angle of incidence = angle of reflection. Move the light or camera by inches to “place” highlights.
- Black/white cards. Slide them just outside frame to sculpt edges on chrome.
- Polarizer (CPL). Cuts unwanted glare on labels; rotate while viewing through the lens.
- Acrylic risers / fishing line. Float small objects or lift shadows; clone out supports later.
6) Keep Color Honest
- Set a custom white balance for each lighting setup.
- Shoot a color chart on the first frame of each product family for fast, accurate corrections.
- Kill color cast: Watch colored walls, floors, and tabletops—cover with neutral boards or move farther away.
7) Dust, Smudges, and Micro-Wrinkles—Stop Them at the Source
- Microfiber gloves, lens wipes, compressed air, lint rollers.
- Anti-static brush for acrylics and plastics.
- Museum putty to stabilize round items or stand things upright.
- Iron or steam fabric backdrops before set; aim a diffused light across the surface to reveal wrinkles.
8) Quick Background Recipes (Copy/Paste)
A) Marketplace-White Hero (most SKUs)
- Background: white seamless sweep.
- Lights: 1 soft key at 45° + flagged background light to hit paper only.
- Settings: f/8–f/11, base ISO, tethered.
- Target: subject correctly exposed; background +1 to +1.5 stops.
B) Reflective Metal on Mid-Gray
- Background: 20–30% gray.
- Lights: large soft key + black flags near edges to sculpt.
- Add a slim edge light from behind for a clean rim.
- Polarizer optional.
C) Glass Bottle / Shiny Plastic
- Background: white or pastel.
- Lights: two vertical stripboxes left/right creating tall highlights.
- Black flags just out of frame for edge definition.
- Small top card to brighten label.
D) Soft Lifestyle With Texture
- Background: linen or faux-concrete board, placed several feet back.
- Key: big softbox; kicker with grid for gentle separation.
- Shoot around f/4–f/5.6 to blur texture.


9) Camera & Lens Choices (No Fuss)
- 50–100mm equivalent for minimal distortion on small/medium products.
- Tripod + tether for consistency and quick checks.
- Aperture: f/8–f/11 for catalog sharpness; focus stack tiny items (jewelry, macro).
- Shutter: With flash, use sync speed; with LED, keep shutter fast enough to prevent handshake.
- RAW always for flexible color and clipping recovery.
10) Smartphone-Friendly Setup
- Use a clip-on polarizer if possible.
- Put the phone on a stable stand, use the self-timer to avoid shake.
- Turn off “Live/Smart HDR” if it creates halos; lock exposure and focus.
- Light matters more than the sensor: one soft key + white bounce beats three unshaped lights.
11) Background Consistency = Brand Consistency
Build a style guide so every future shoot matches:
- Background tone (RGB/CMYK target or Lab* value).
- Light positions and distances (mark the floor).
- Camera height, focal length, and framing (diagram + test frame).
- File naming, color profiles (sRGB for web, Adobe RGB for print), export sizes.
- Retouching rules (dust removal, edge cleanup, color tolerance per SKU).


12) Fast Post Workflow for Clean Backgrounds
- Batch white balance from your color chart.
- Use HSL to neutralize background casts without killing product color.
- Mask edges with subject selection tools; refine hairlines/threads with a small brush.
- For pure white: push background up while keeping a soft 1–3 px edge to avoid cutout halos.
- Export presets for web (e.g., 2000 px longest edge, sRGB, 85% quality) and print.
13) Common Mistakes (and Fixes)
- Hot background bleeds onto subject → Lower background light, add flags, increase subject-to-background distance.
- Color cast on white products → Kill spill; use neutral cards; correct with targeted HSL.
- Jagged edges on cutouts → Shoot sharper (f/8–f/11), use higher-res export, feather masks slightly.
- Wrinkled paper line visible → Wider sweep; move camera higher; re-roll the seamless to a clean section.
14) Minimal Gear List That Punches Above Its Weight
- Seamless white and mid-gray paper (53″ or 86″) + clamps.
- One large softbox (or umbrella + diffusion) and one stripbox (or DIY panel).
- Two C-stands (or light stands), A-clamps, black/white foamcore (flags and bounces).
- Polarizer filter, acrylic risers, museum putty, microfiber/air blower kit.
- Tether cable and a cheap rolling cart for a repeatable workstation.
Final Word
Clean product backgrounds aren’t about expensive gear—they’re about control: control of light spill, distance, color, and reflections. Master those four, and your images will look premium and consistent across every channel.
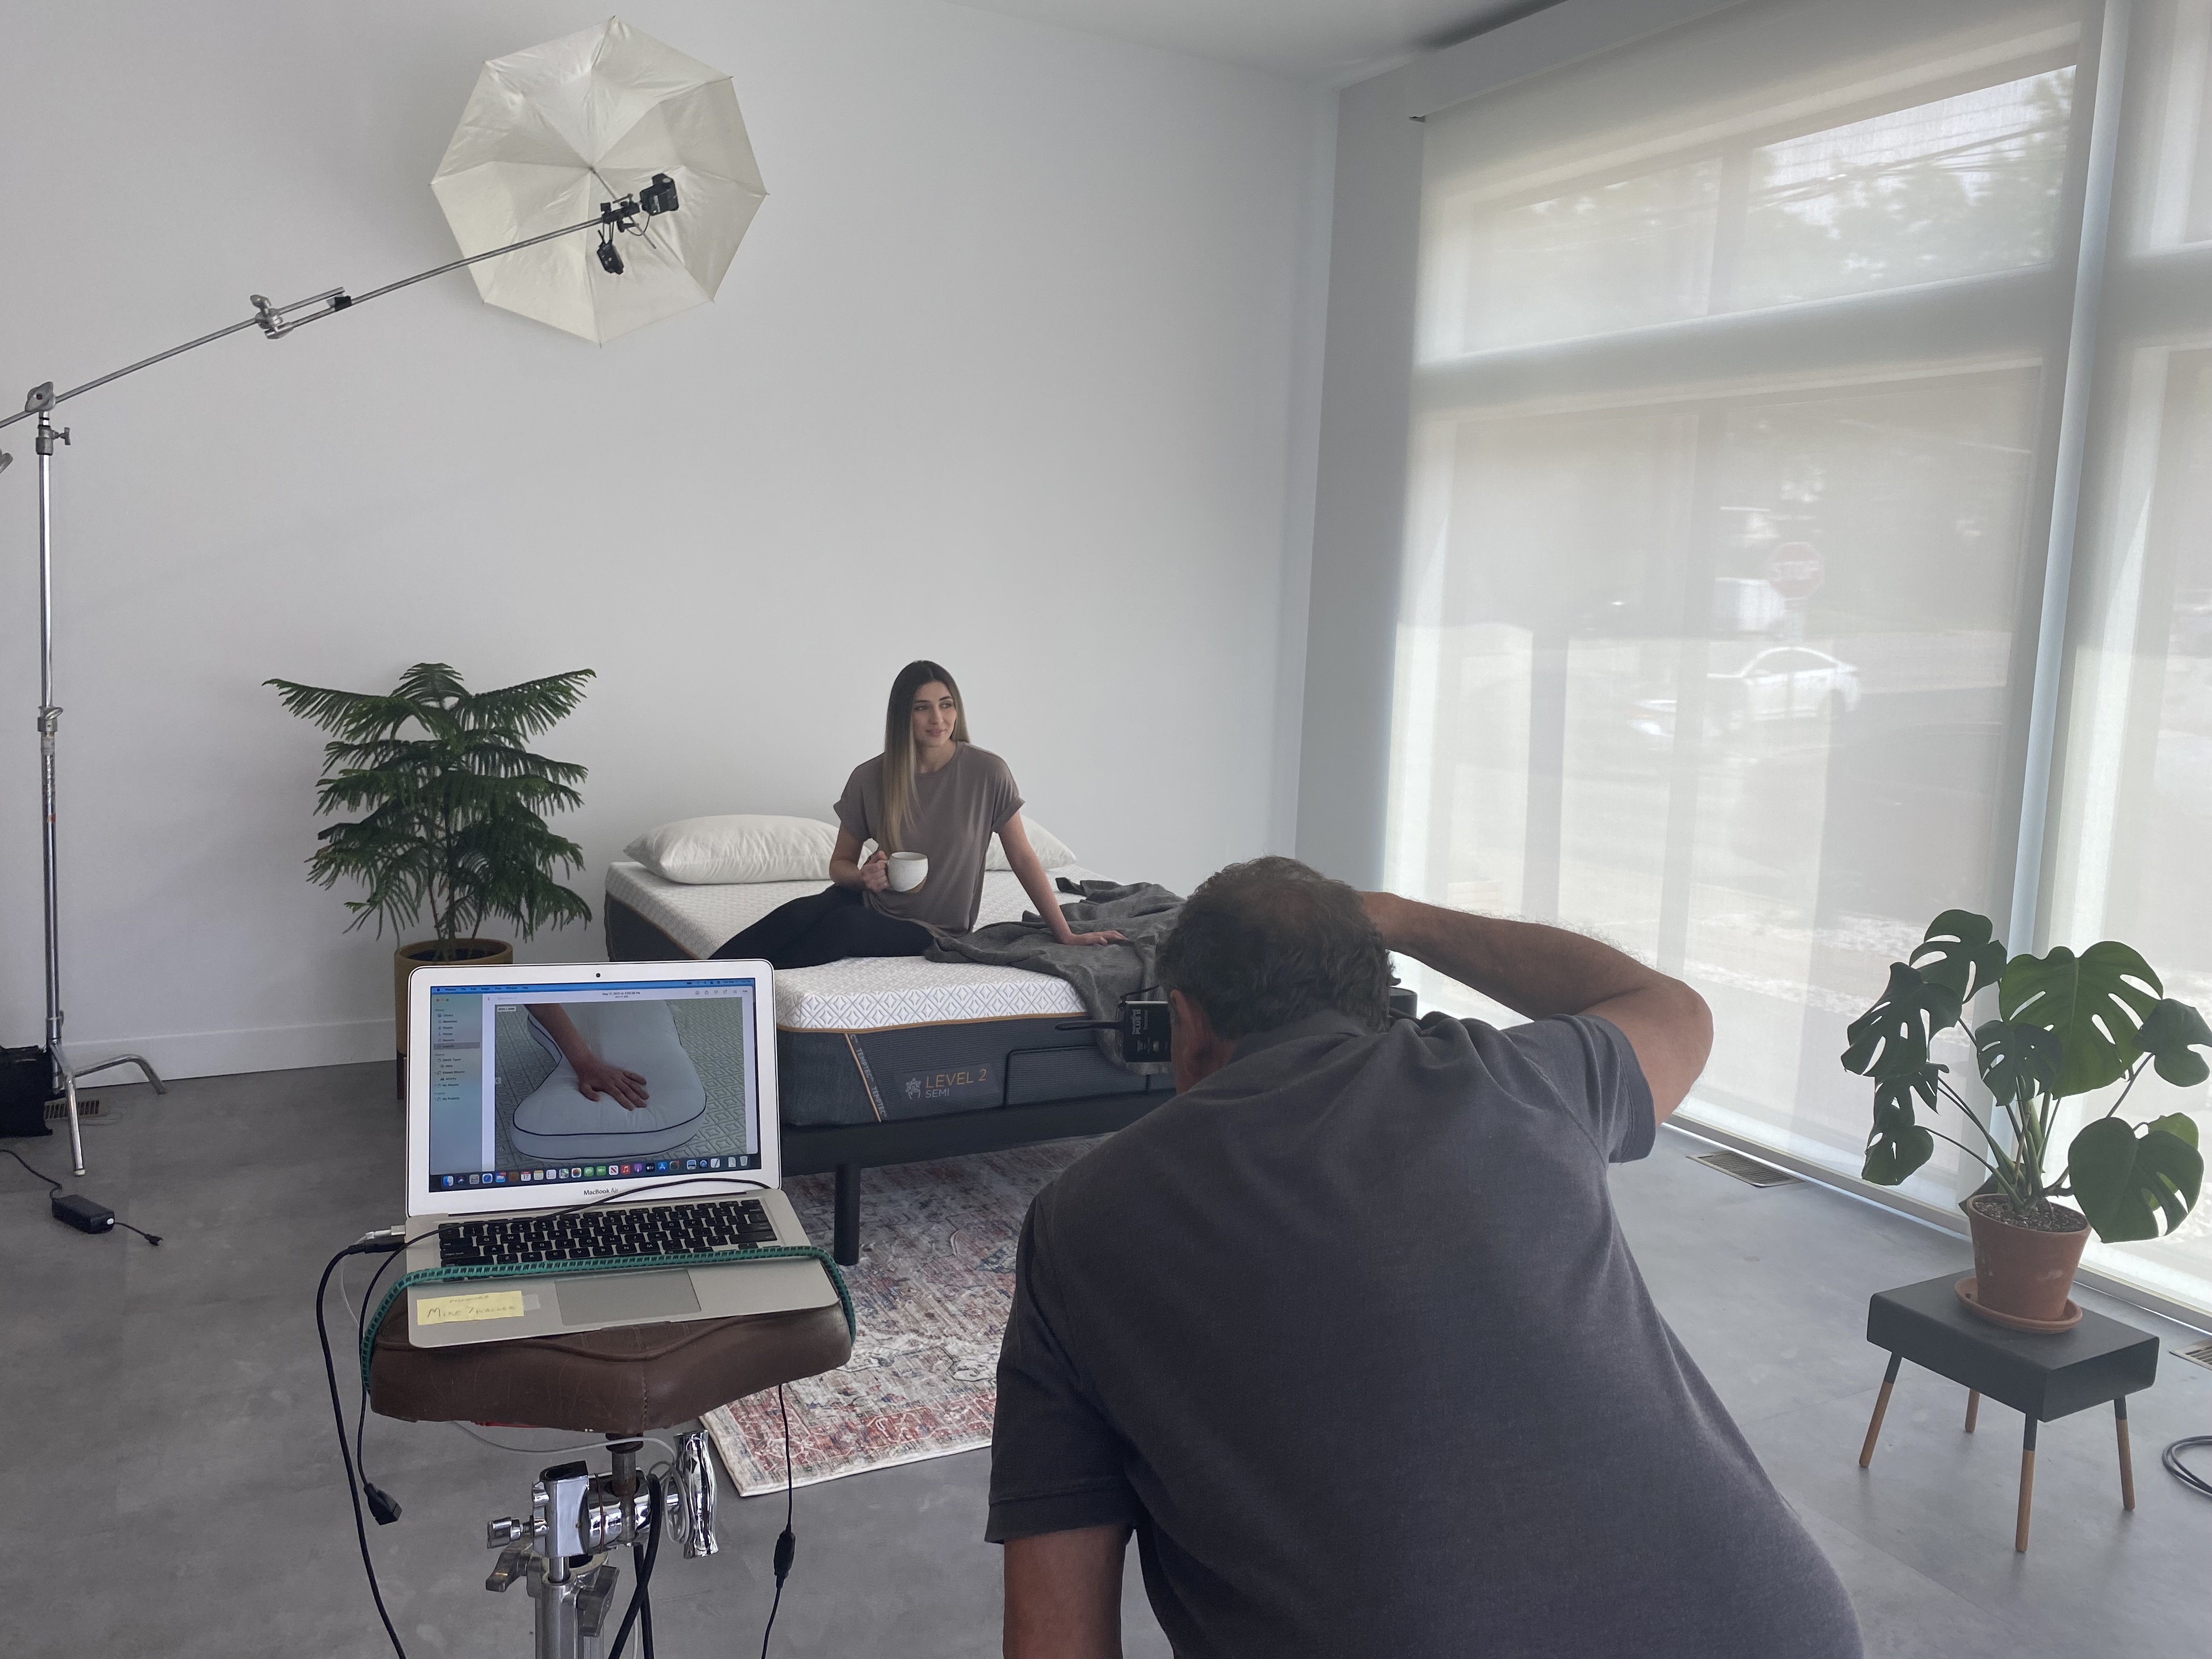
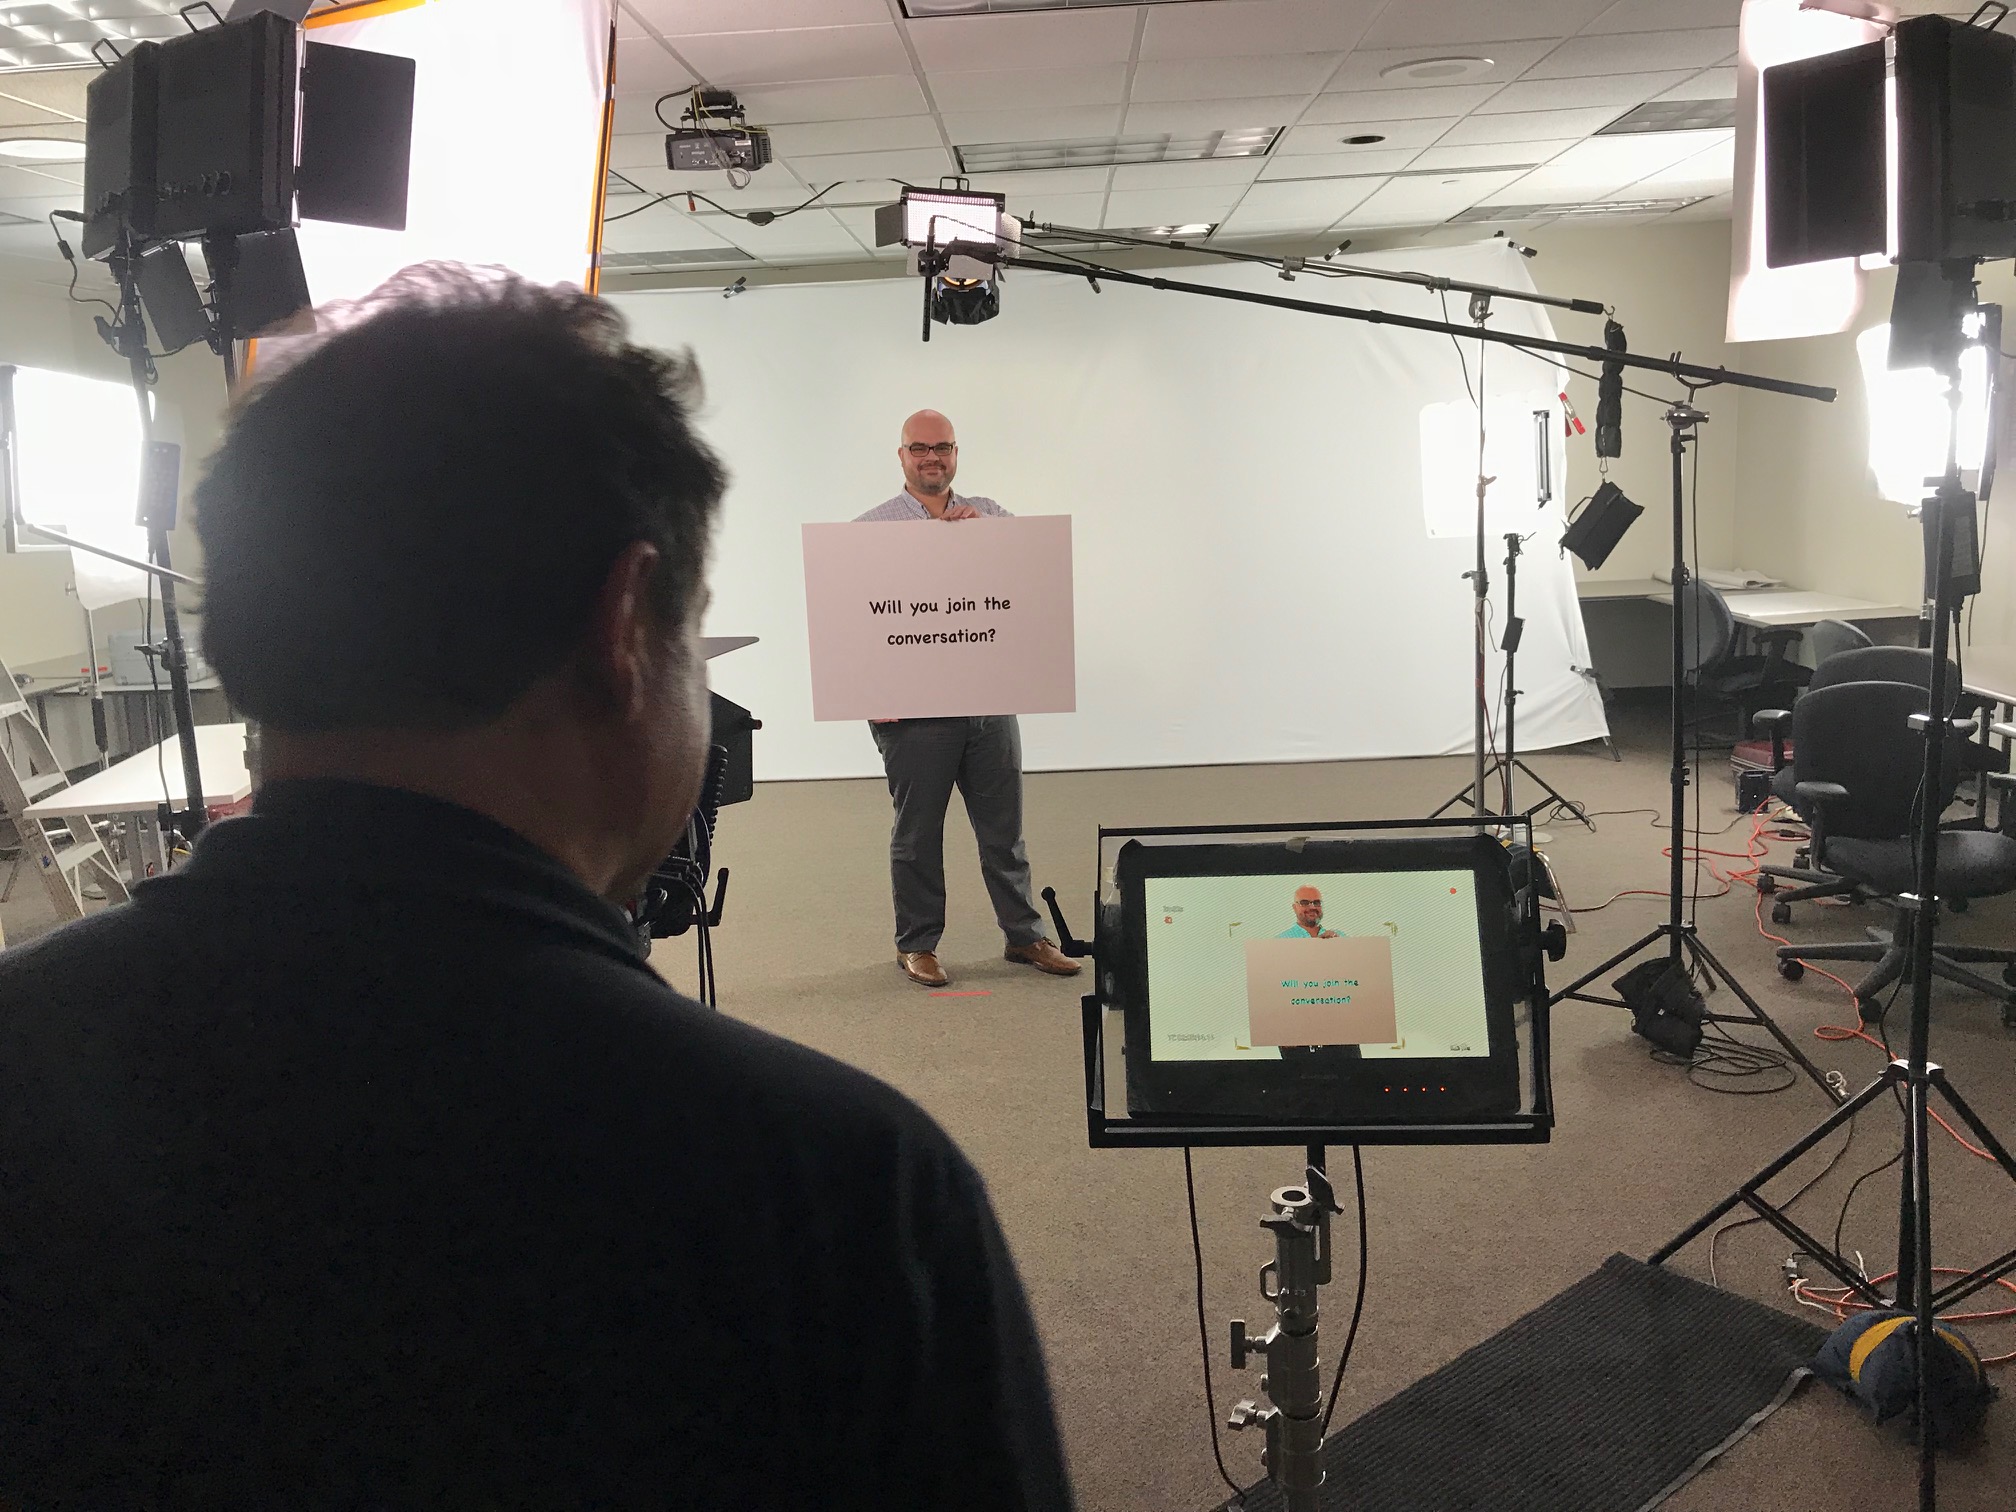
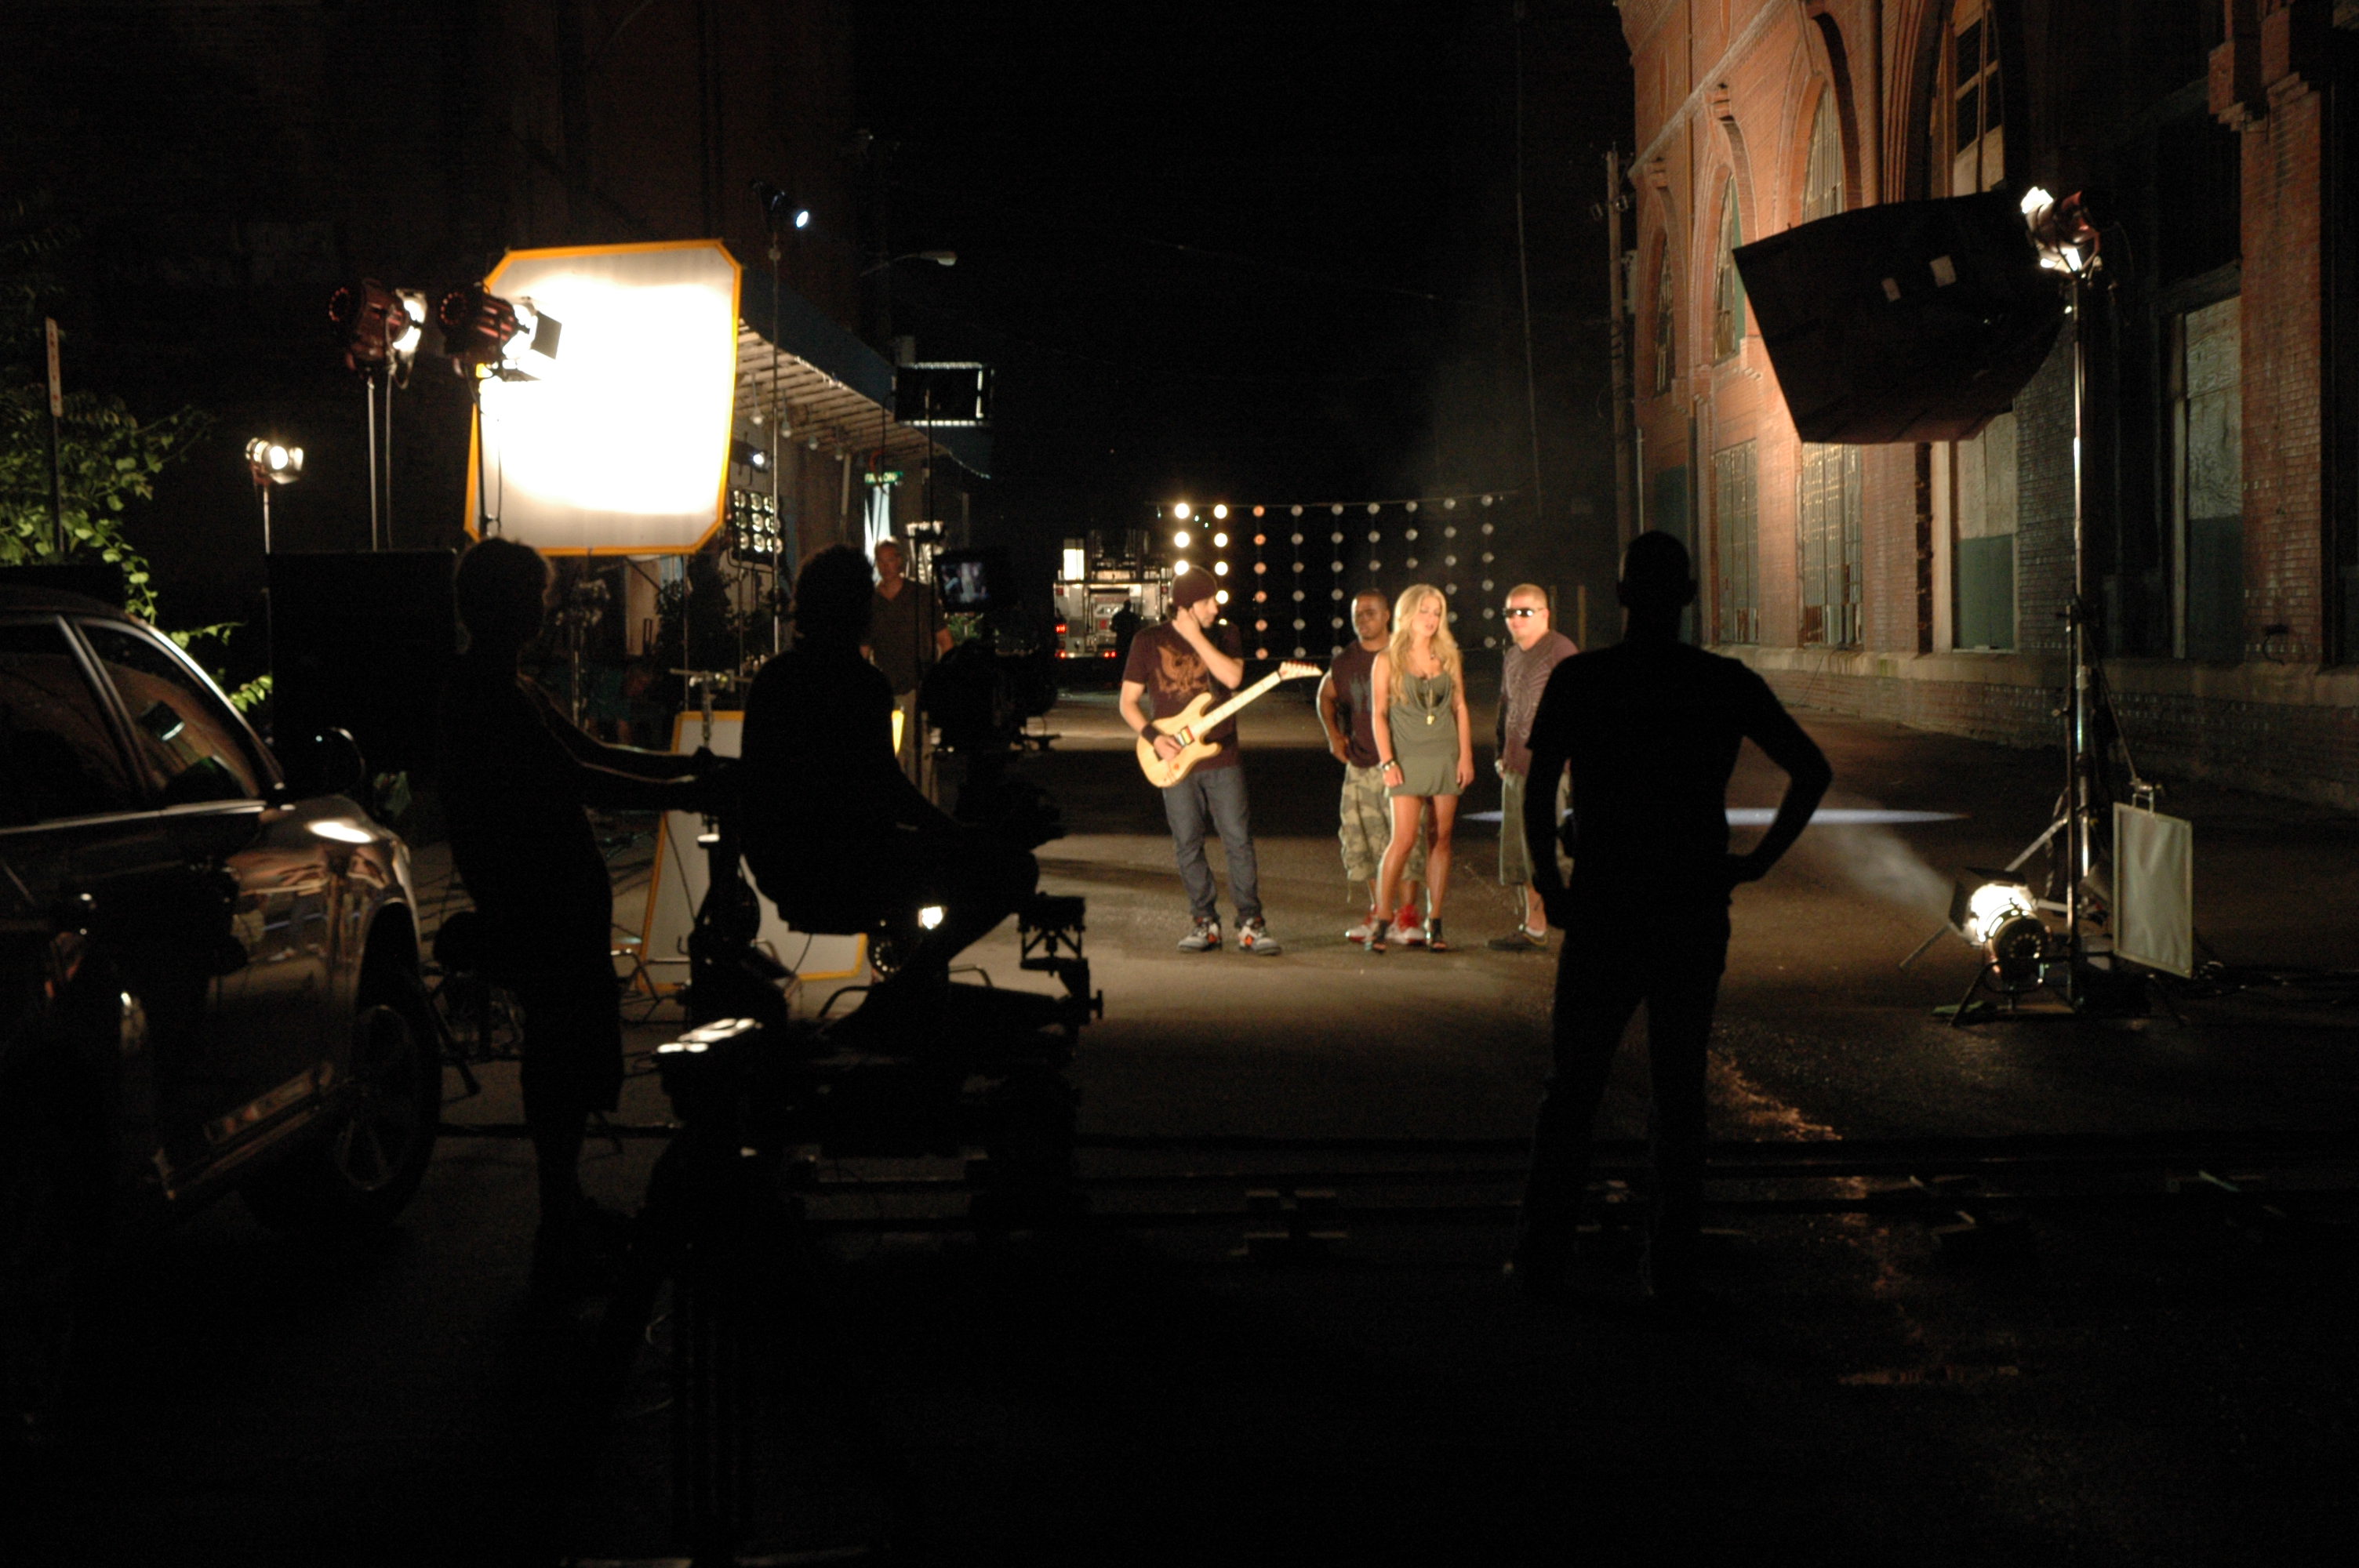
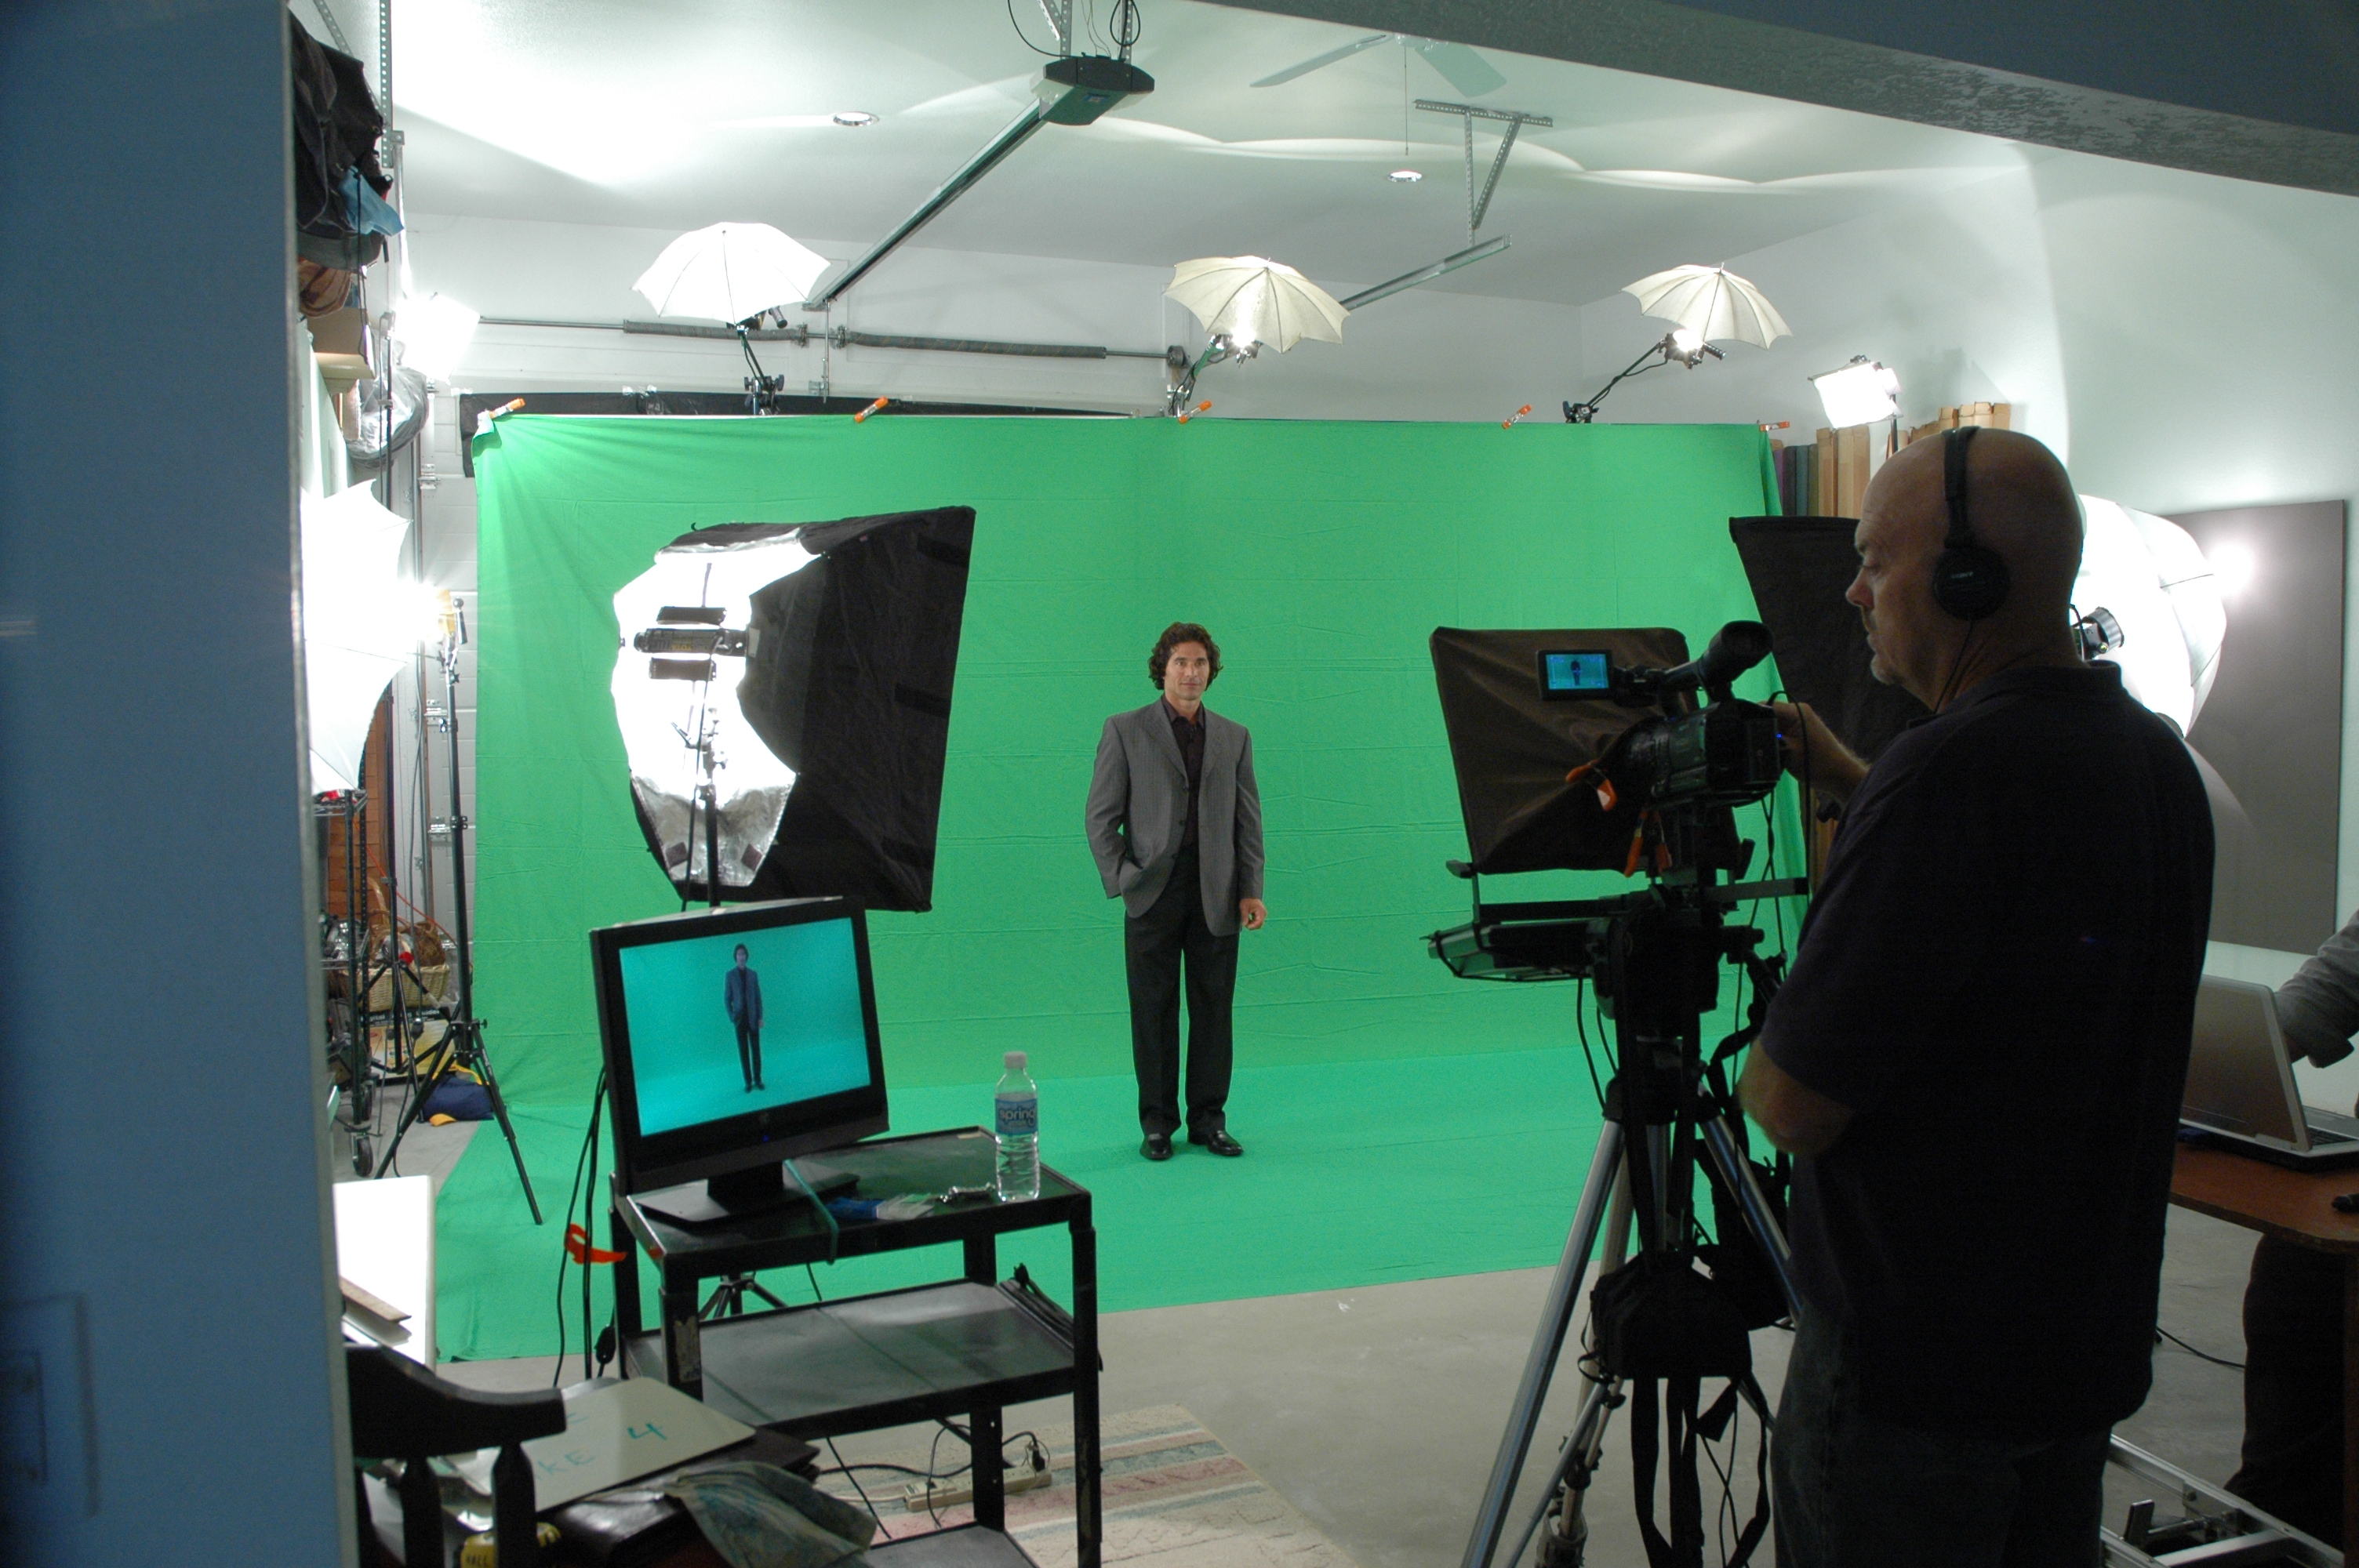
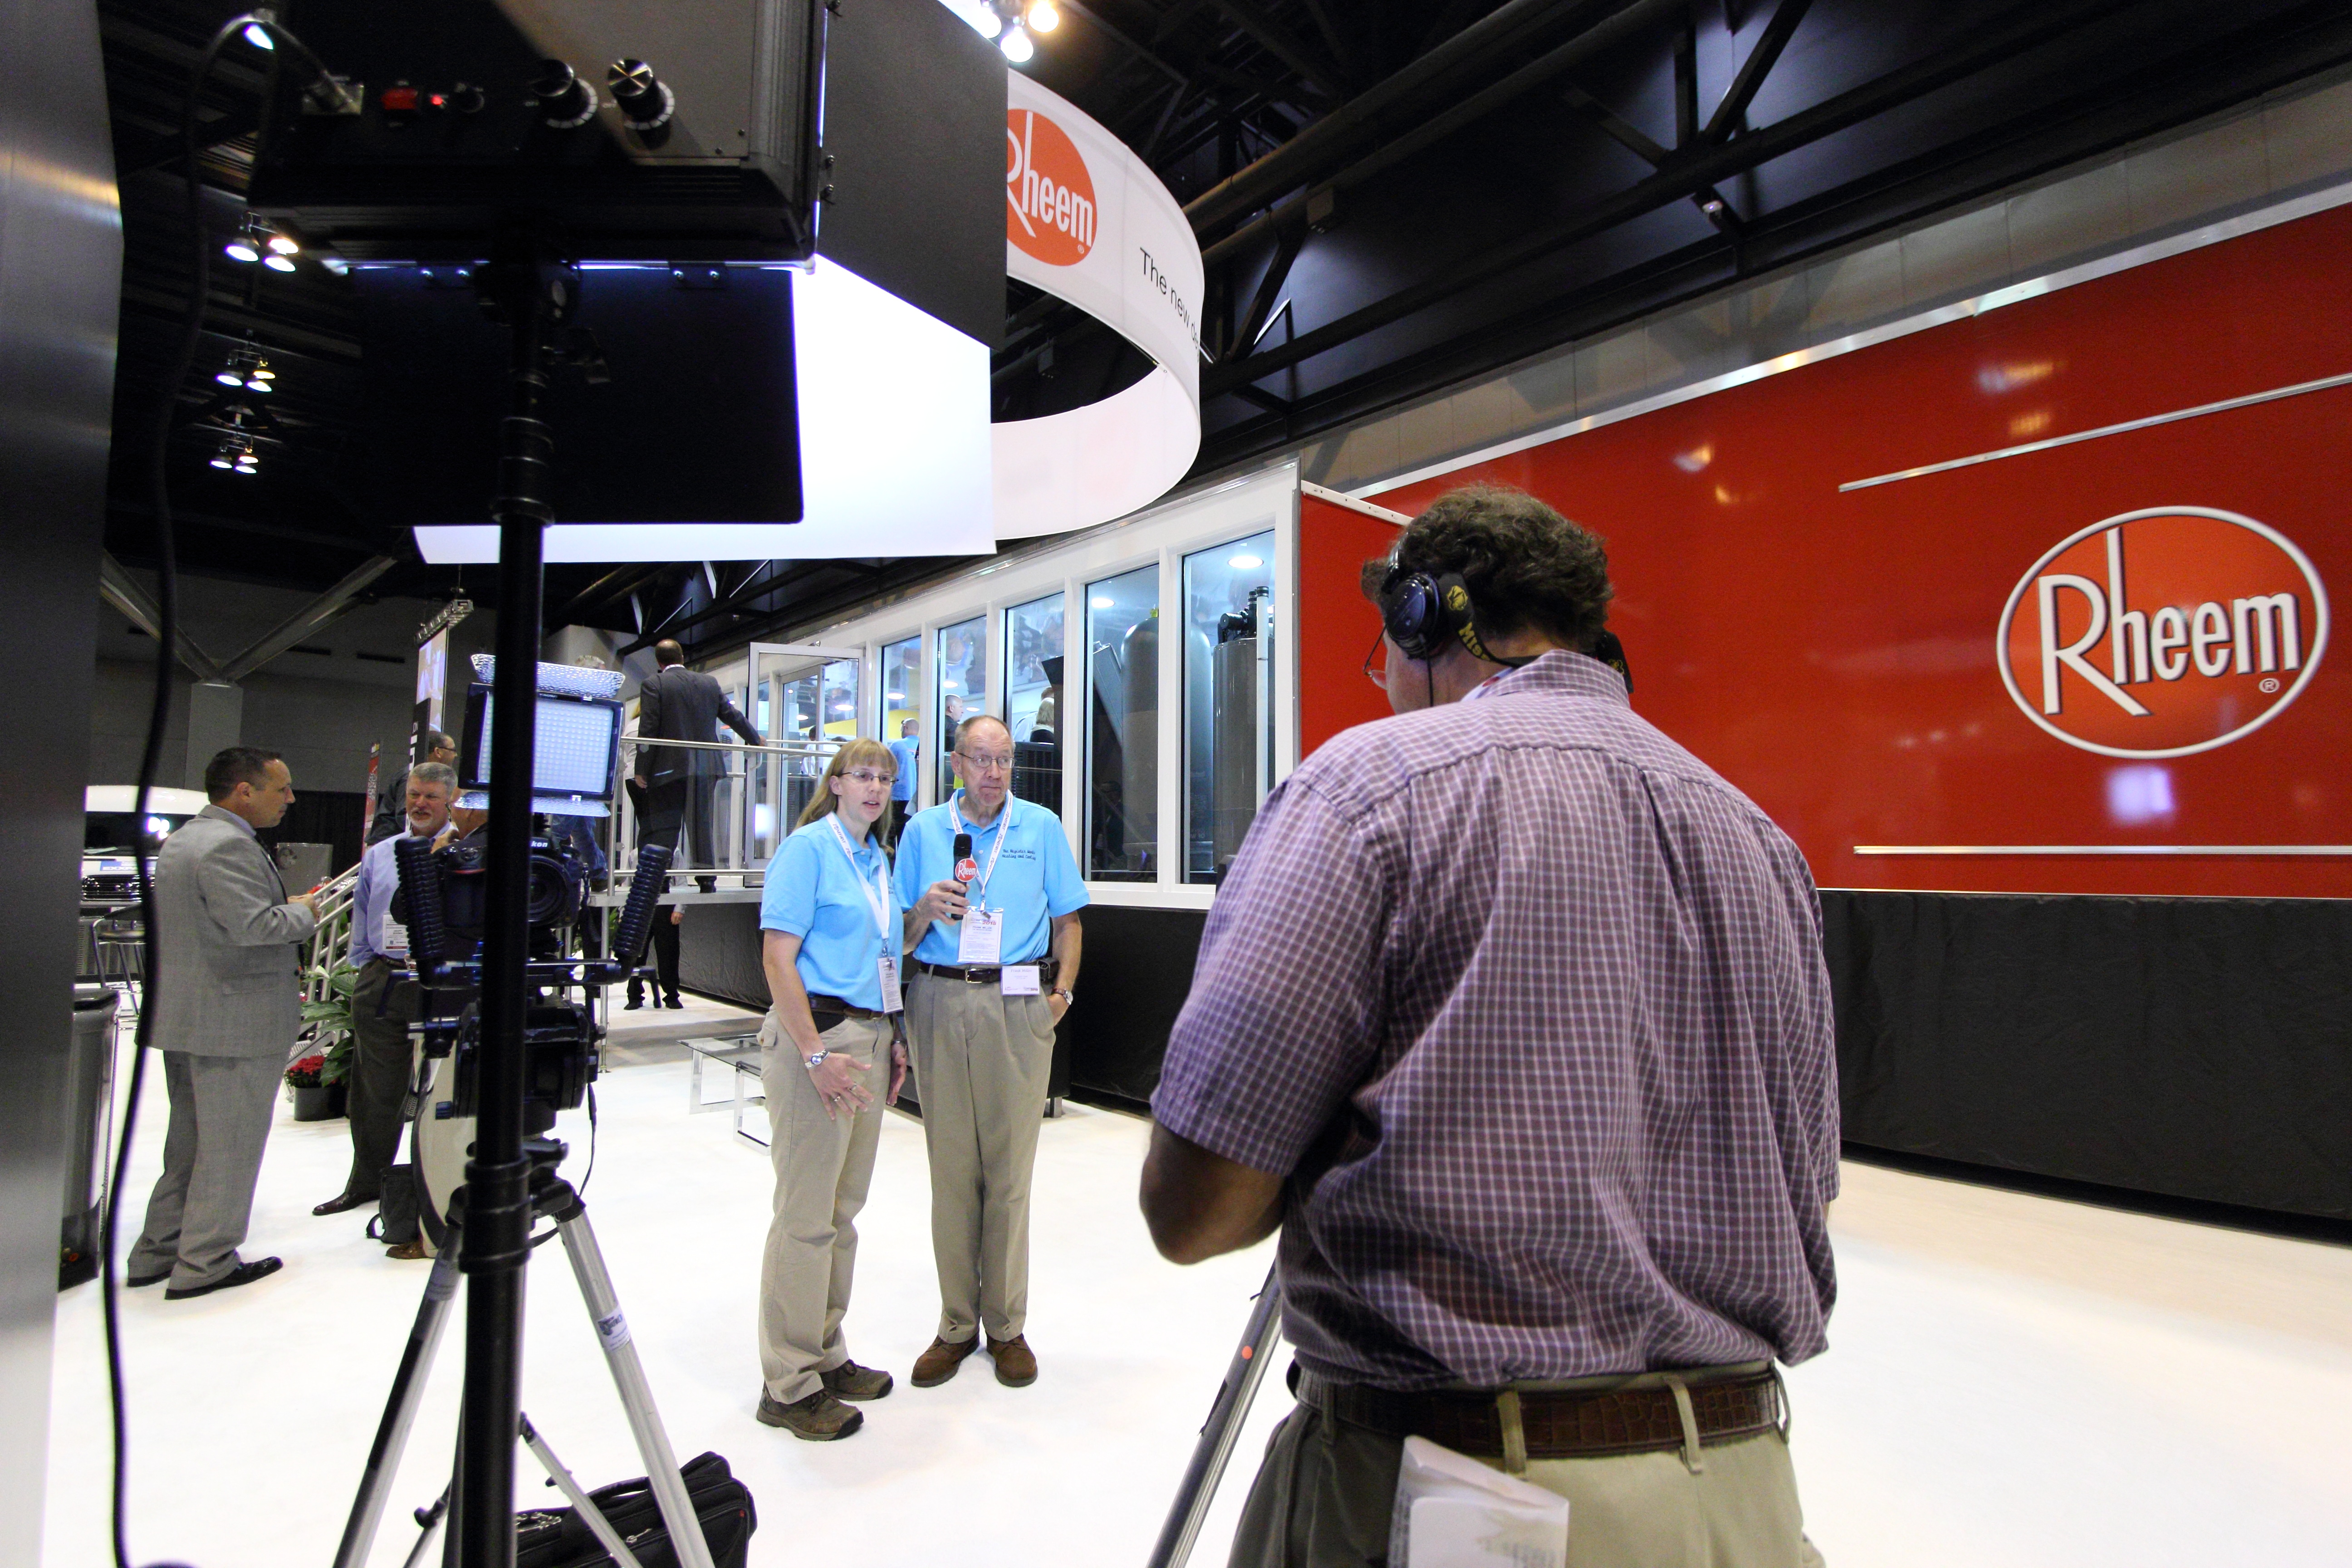
Why Partner With St Louis Photography Studio
St Louis Photography Studio is a full-service commercial photography and video production company with the right equipment and seasoned crew to ensure successful image acquisition. We provide studio and location photo/video, editing and post-production, and licensed drone pilots—and yes, we can fly our specialized drones indoors for dynamic reveals and facility walk-throughs. We customize productions for diverse media requirements, and we’re experts at repurposing your photography and video branding to gain more traction across web, print, and social. We’re fluent in all file types, media styles, and the software your team uses, and we leverage the latest Artificial Intelligence to accelerate culling, retouching, content versioning, and QA without sacrificing craft.
Our private studio lighting and visual setup is ideal for small productions and interview scenes, with room for props to round out your set. Since 1982, we’ve supported businesses, marketing firms, and creative agencies across the St. Louis area—handling everything from private, custom interview studios to professional sound and camera operators, plus the right equipment—so your next production is seamless, on-brand, and successful.