Unveiling the Magic of Studio Lighting in Photography
When it comes to photography, one of the most crucial elements that can make or break your shot is lighting. Whether you’re a seasoned professional or just getting started in the world of photography, understanding the nuances of studio lighting is essential. In this comprehensive guide, we will delve deep into the art and science of studio lighting, shedding light on various techniques, equipment, and tips that will help you create stunning images. So, let’s embark on this illuminating journey into the magic of studio lighting.
The Importance of Studio Lighting
Studio lighting is the backbone of professional photography. It allows photographers to have complete control over the intensity, direction, and quality of light, resulting in images with incredible clarity, depth, and impact. Whether you’re shooting portraits, product photography, fashion, or any other genre, mastering studio lighting techniques is essential for creating visually compelling photographs.
Types of Studio Lights
There are several types of studio lights available, each with its own characteristics and applications. Understanding these lights and when to use them is crucial for achieving the desired results in your photography.
Continuous Lighting
Continuous lighting sources, as the name suggests, provide a constant and consistent illumination. They are ideal for beginners and video shooting since you can see the exact effect of the light in real-time. Continuous lights come in various forms, including tungsten, fluorescent, and LED lights. They are commonly used for portrait photography, interviews, and still-life setups.

Strobe Lighting
Strobe lights, also known as flash lights, are characterized by their brief, intense bursts of light. They are perfect for freezing motion and capturing fast-paced subjects. Strobe lighting is a favorite choice for fashion, sports, and studio portrait photography. These lights are capable of delivering a high output of light in a very short duration, making them versatile tools for photographers.
LED Lighting
LED lights have gained popularity in recent years due to their energy efficiency and versatility. They offer adjustable color temperature, making them suitable for creating various moods and effects. LED lights are commonly used in both photography and videography and are known for their portability and long-lasting performance.
Light Modifiers
Light modifiers are essential tools for controlling and shaping the quality of light in your studio. They help diffuse, reflect, or direct the light to achieve the desired effect. Some common light modifiers include:
- Softboxes: Softboxes create a soft, even, and diffused light that minimizes harsh shadows, making them ideal for portrait photography.
- Umbrellas: Umbrellas can be used to bounce, reflect, or shoot light through, providing versatility in shaping your light.
- Reflectors: Reflectors bounce existing light onto your subject, filling in shadows and adding dimension to your photographs.
- Snoots and Grids: These modifiers focus light in a narrow and controlled manner, perfect for creating dramatic effects or highlights.
Lighting Setups
Lighting setups play a crucial role in determining the mood and style of your photographs. Different lighting arrangements can evoke various emotions and highlight specific aspects of your subject.
One-Point Lighting
One-point lighting is the simplest setup, involving a single light source. It creates strong shadows and is often used for dramatic and moody portraits. This setup is ideal for creating a sense of mystery or intensity in your photographs.
Three-Point Lighting
Three-point lighting is a standard setup in portrait photography and video production. It consists of three lights: the key light, the fill light, and the backlight. This setup ensures even illumination, reduces shadows, and provides a sense of depth to your subjects.
Rembrandt Lighting
Named after the famous painter, Rembrandt lighting is characterized by a triangle-shaped highlight on the subject’s cheek opposite the key light. It creates a classic and timeless look, often seen in portraits and character-driven photography.
Butterfly Lighting
Butterfly lighting is achieved by placing the key light directly in front of and above the subject’s face. It creates a soft, flattering light that minimizes shadows and is commonly used in beauty and fashion photography.
Color Temperature
Understanding color temperature is essential for achieving accurate and consistent results in studio lighting. Color temperature is measured in Kelvin (K) and determines whether the light appears warm (lower Kelvin values) or cool (higher Kelvin values). Here are some common color temperatures and their applications:
- Warm Light (2700K-3500K): Often used to create a cozy and inviting atmosphere, suitable for indoor scenes, and lifestyle photography.
- Neutral Light (4000K-5000K): Provides a clean and natural look, ideal for most studio photography and portraits.
- Cool Light (5500K and above): Creates a crisp and vibrant look, perfect for product photography and outdoor scenes.
Creating Mood with Lighting
Studio lighting allows you to manipulate the mood and atmosphere of your photographs. Here are some techniques to consider:
- High Key Lighting: Achieved by using multiple lights to create a bright, cheerful, and airy atmosphere. It’s often seen in fashion and commercial photography.
- Low Key Lighting: Involves using minimal lighting to create a dark, moody, and mysterious ambiance. It’s commonly used in film noir and dramatic portraits.
- Split Lighting: This technique divides the subject’s face into equal halves, with one side in shadow and the other in light. It creates a striking and bold look, often used in character portraits and storytelling.
- Backlighting: Placing the light source behind the subject creates a halo effect and emphasizes the silhouette. It’s ideal for creating ethereal and magical scenes.
Common Lighting Mistakes to Avoid
Even experienced photographers can make lighting mistakes. Here are some common errors to watch out for:
- Overexposure: When the lighting is too intense, it can lead to overexposed highlights, resulting in loss of detail.
- Underexposure: Inadequate lighting can lead to dark and noisy images with poor visibility.
- Uneven Lighting: Inconsistent lighting can create distracting shadows or hot spots on your subject.
- Wrong Color Temperature: Using the wrong color temperature can result in unnatural or unflattering skin tones.
- Ignoring Reflections: Reflective surfaces can bounce unwanted light and create distracting reflections in your photographs.
Studio Lighting Equipment
To achieve professional results in studio photography, you need the right equipment. Here are some essential tools every photographer should have:
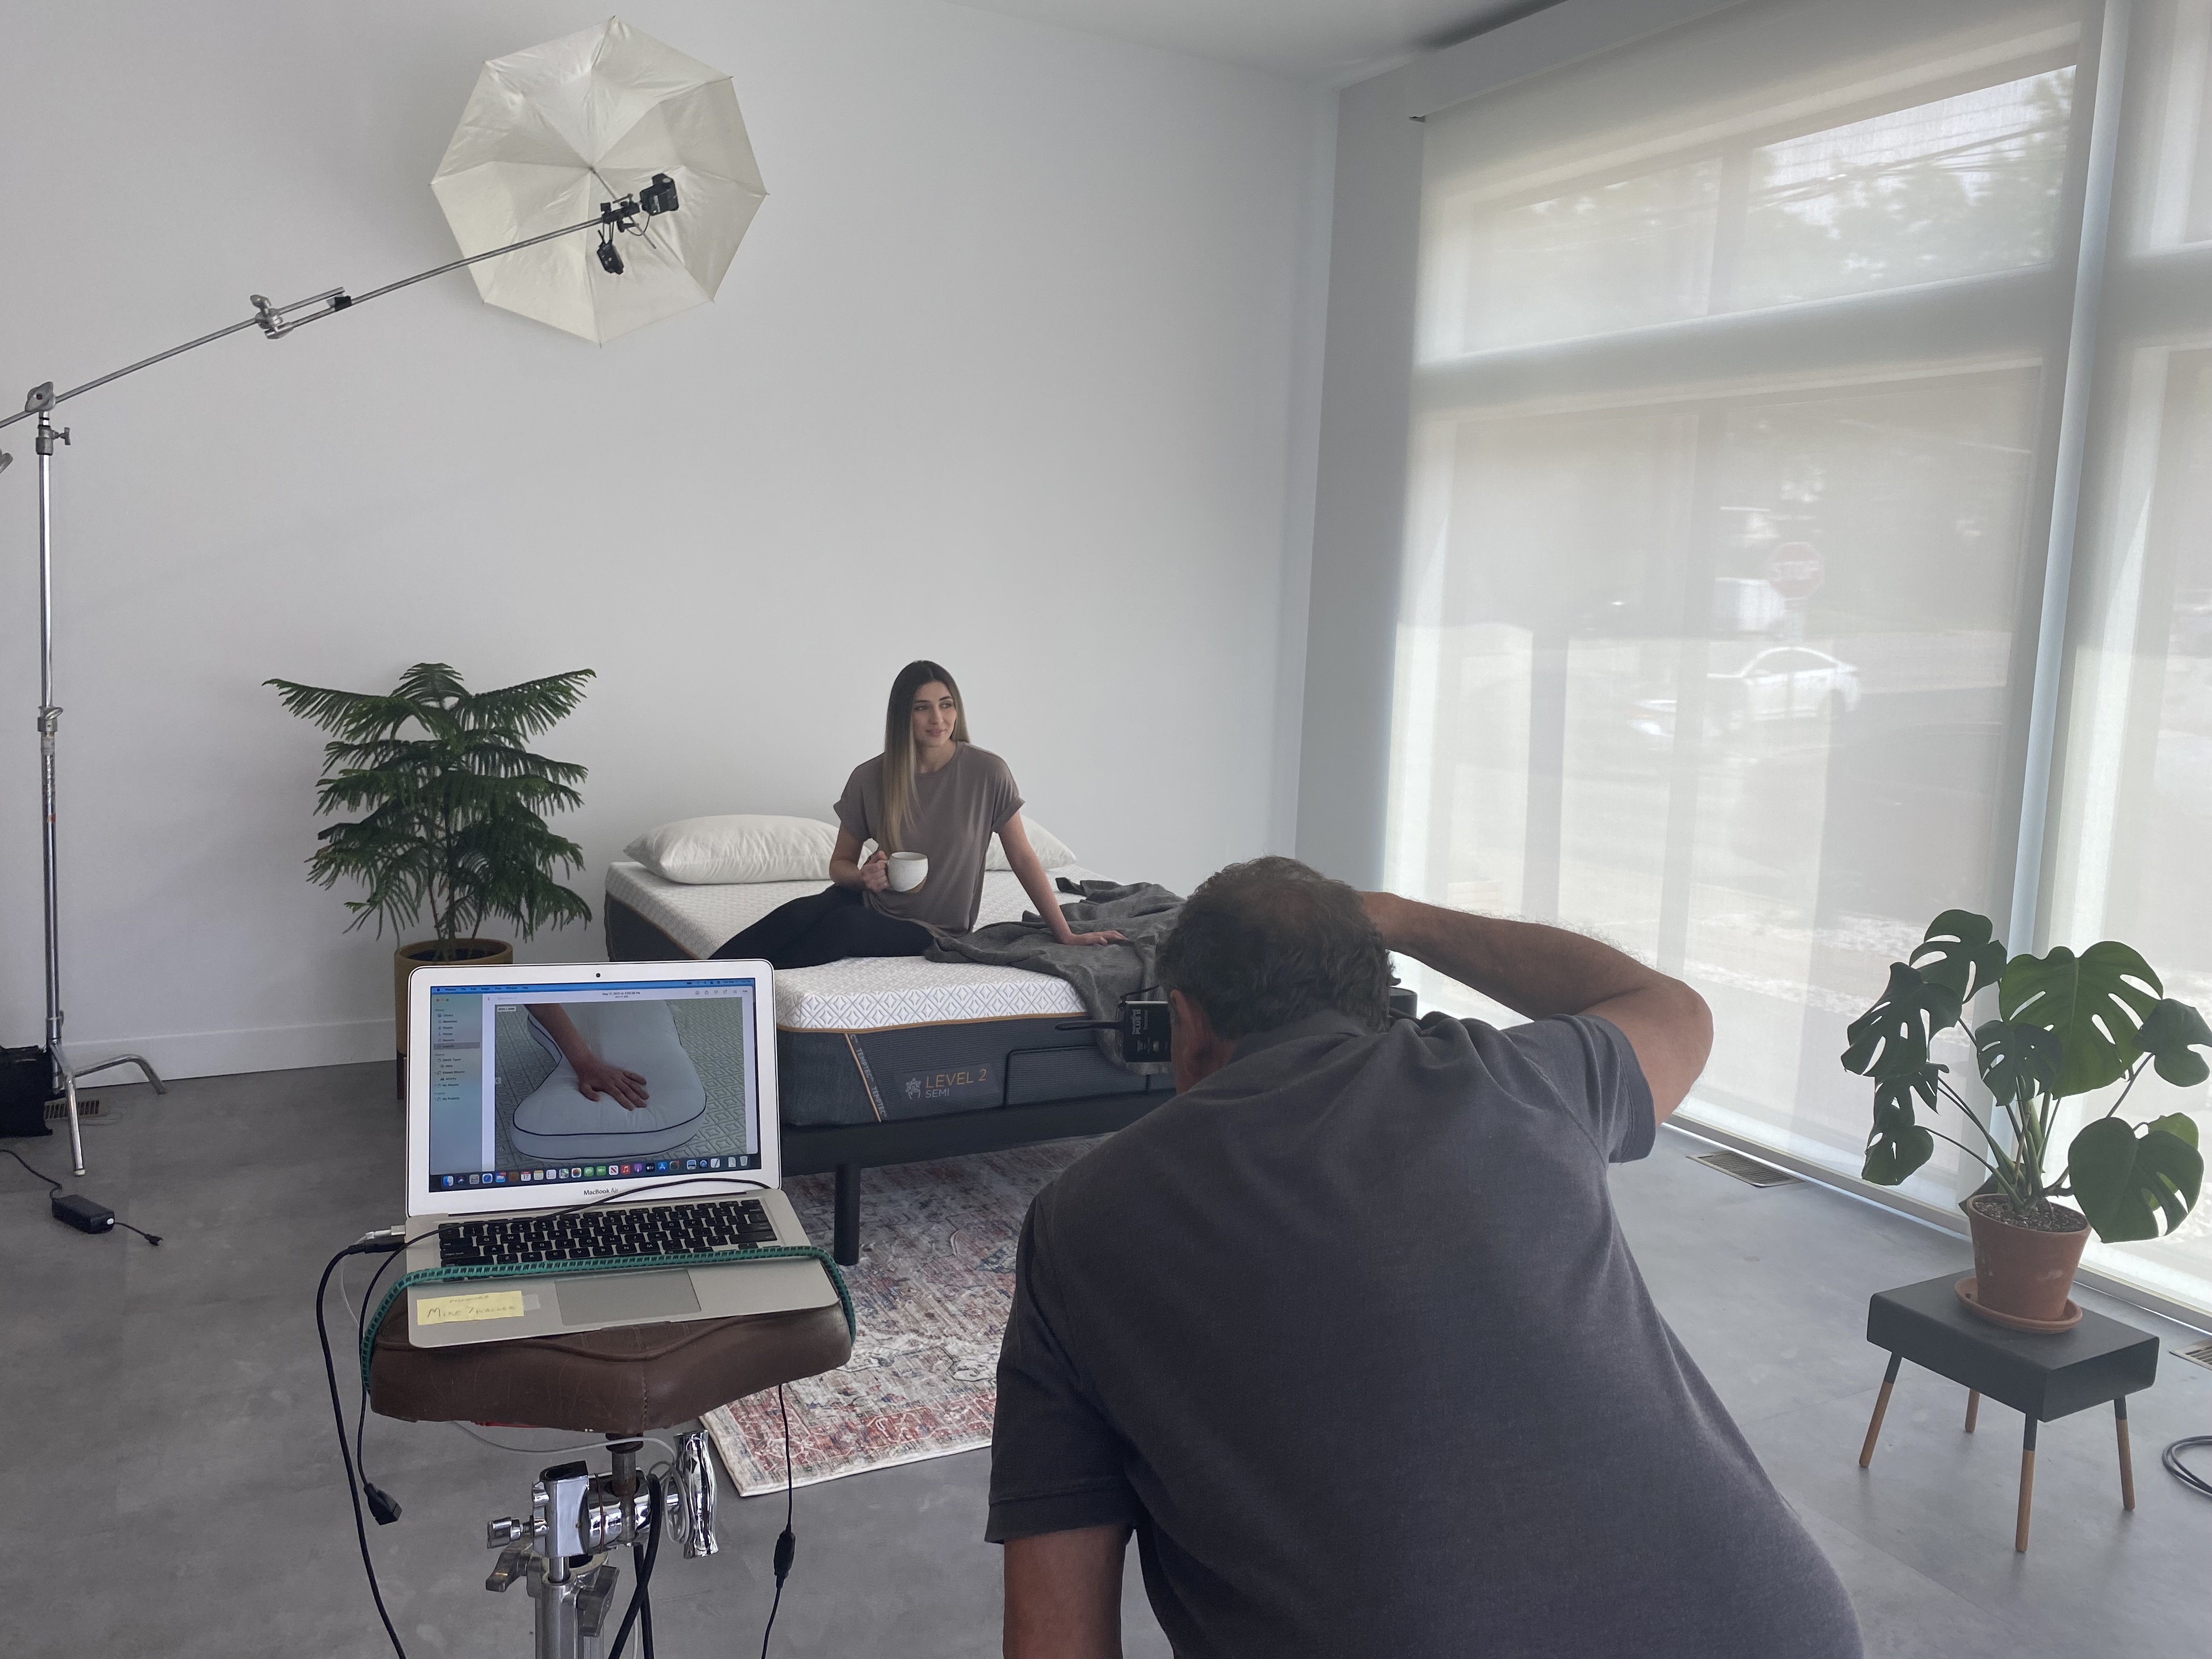
Softboxes
Softboxes are indispensable for creating soft and diffused lighting. They come in various shapes and sizes, allowing you to control the direction and spread of light. Softboxes are commonly used for portrait photography to achieve flattering and even illumination.
Umbrellas
Umbrellas are versatile modifiers that can bounce, reflect, or diffuse light. They are cost-effective and easy to use, making them a favorite choice for both beginners and professionals. Umbrellas are ideal for creating soft and flattering light.
Reflectors
Reflectors are essential for filling in shadows and adding dimension to your photographs. They come in various colors, including silver, gold, and white, each producing a different effect. Reflectors are lightweight and portable, making them convenient for on-location shoots.
Light Meters
Light meters are invaluable for measuring the intensity of light and ensuring accurate exposure. They help you determine the correct settings for your camera, making it easier to achieve consistent results in your studio photography.
Post-Processing and Studio Lighting
Post-processing plays a significant role in enhancing the impact of your studio photographs. Here are some post-processing techniques to consider:
- Adjusting Exposure: Fine-tune the exposure in post-processing to balance the highlights and shadows in your images.
- Color Correction: Correct any color temperature issues and ensure accurate and natural-looking skin tones.
- Retouching: Remove blemishes, wrinkles, or imperfections in portrait photography to create flawless images.
- Enhancing Highlights and Shadows: Use software tools to emphasize or reduce highlights and shadows as needed.
Conclusion
Mastering studio lighting is a journey that requires patience, practice, and a deep understanding of the techniques and equipment involved. Whether you’re a portrait photographer, a product photographer, or an artist seeking to create compelling visuals, studio lighting is a powerful tool that can take your photography to the next level.
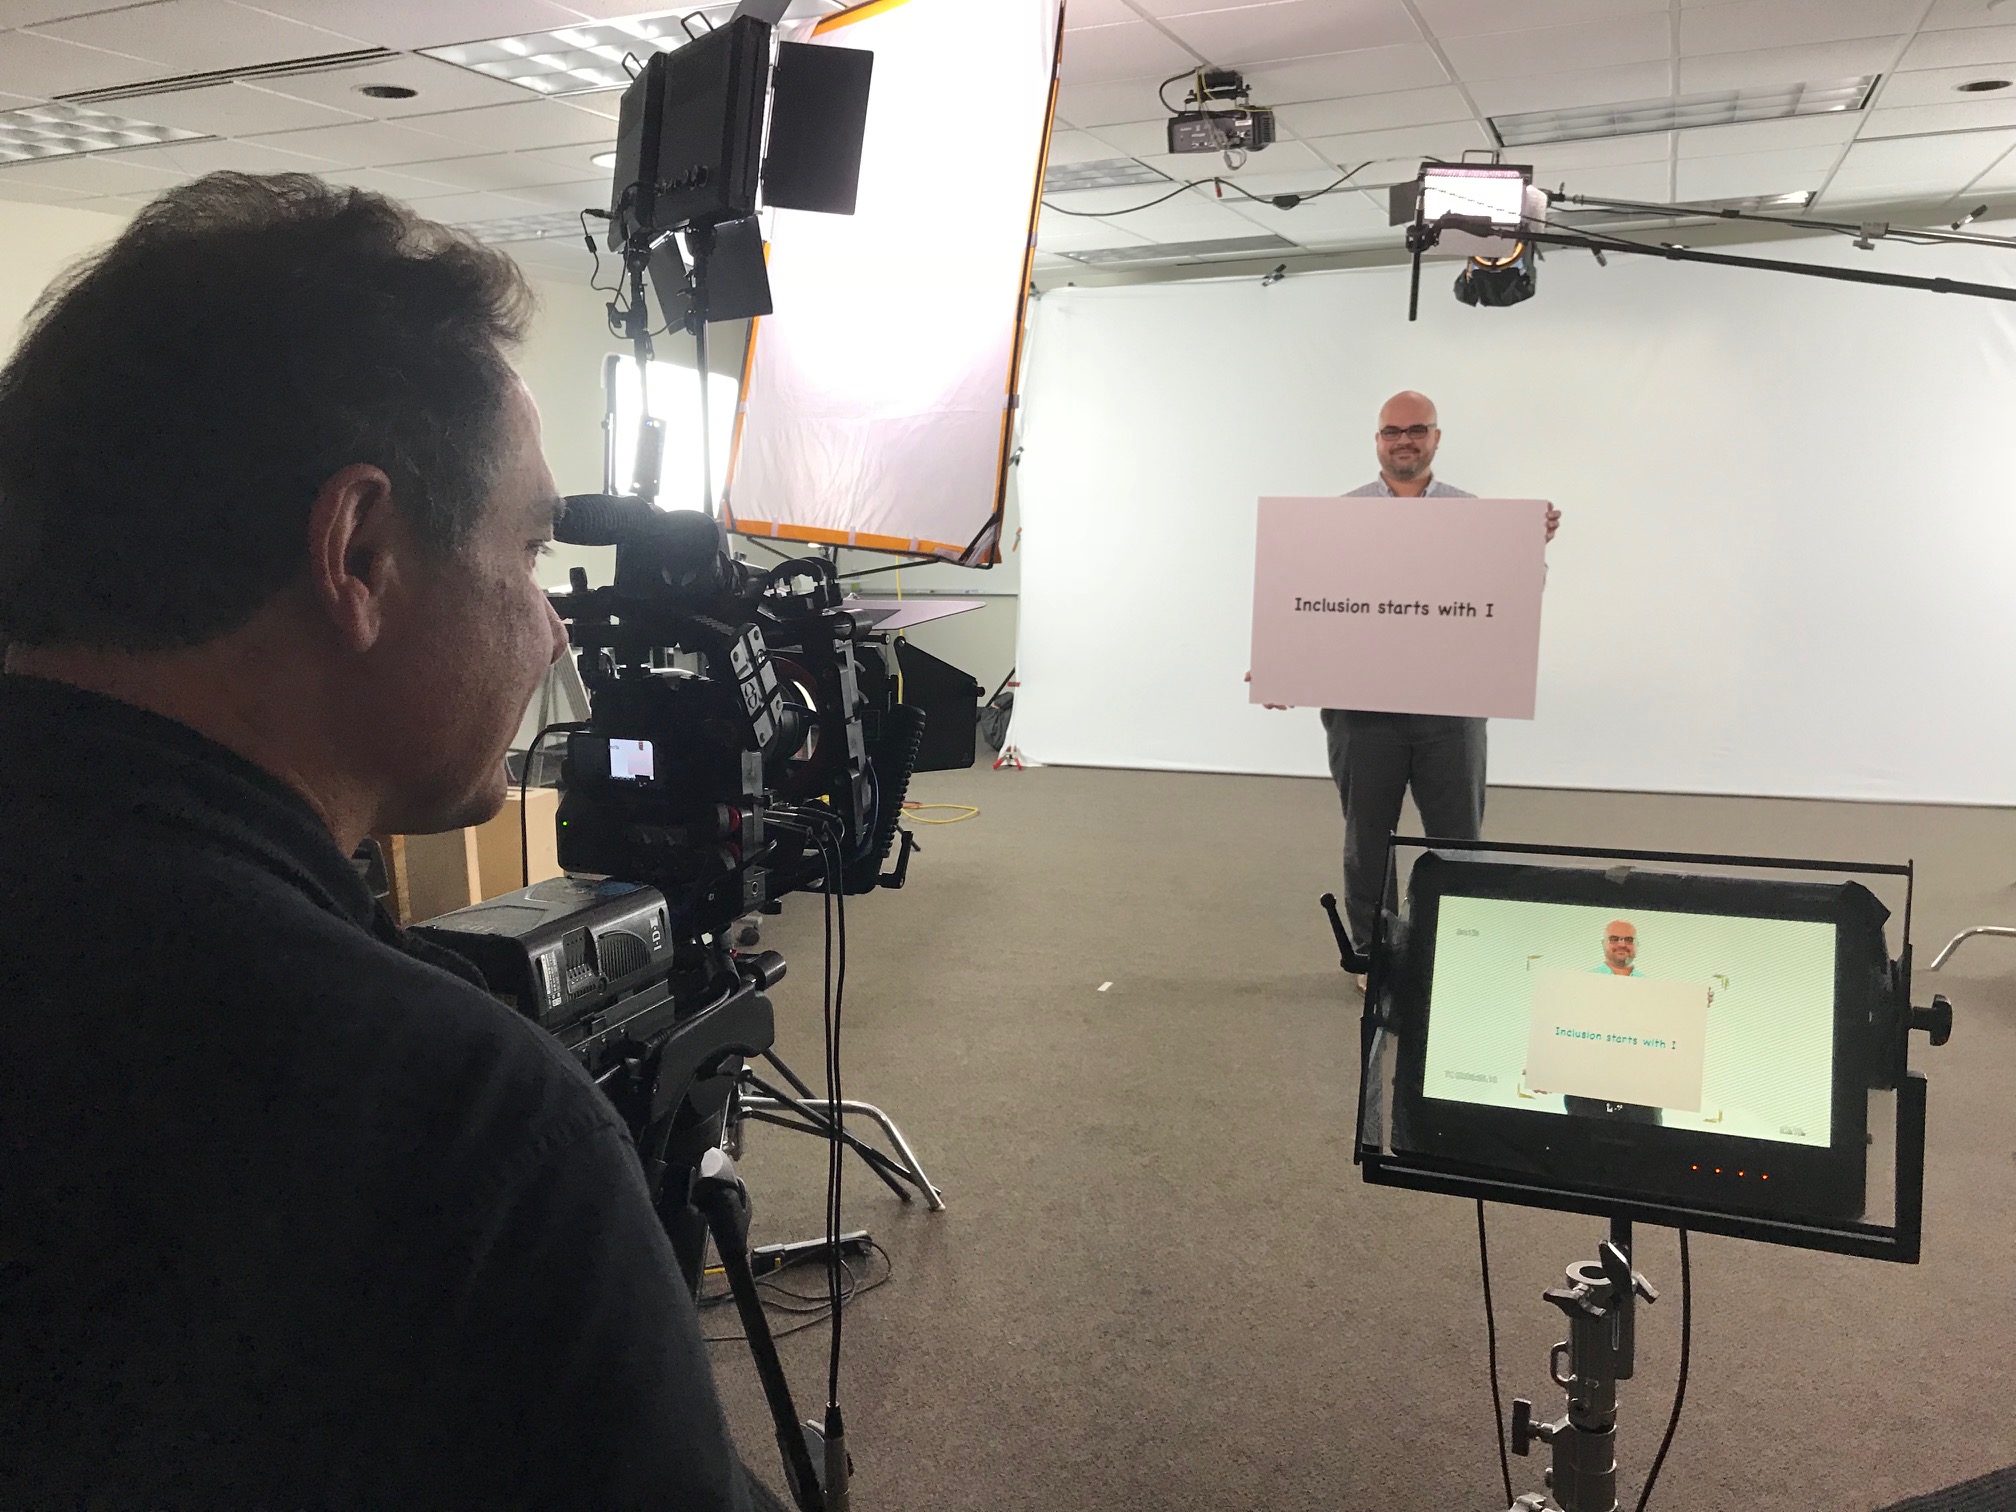
As a full-service photo and video creation company, St Louis Studio Photography has worked with many businesses in the St. Louis area to create some rather remarkable marketing tools. We have experienced videographers and photographers to create impactful studio images.
Don’t hesitate to contact us to discuss your photography needs and experience the magic of professional studio lighting firsthand. Elevate your visual storytelling with St Louis Studio Photography and let your creativity shine.